Laugavegurinn and Fimmvörðuháls, Iceland
Rating: ★★★★★
Location: South Iceland
Days: 7 (including 1 rest day)
Distance: 53mi
Cumulative Elevation: +9,867ft -11,829ft
Min Elevation: 40ft
Max Elevation: 3,471ft
Photo Gallery: Iceland 2016 - Part 2 - Laugavegurinn, Fimmvörðuháls
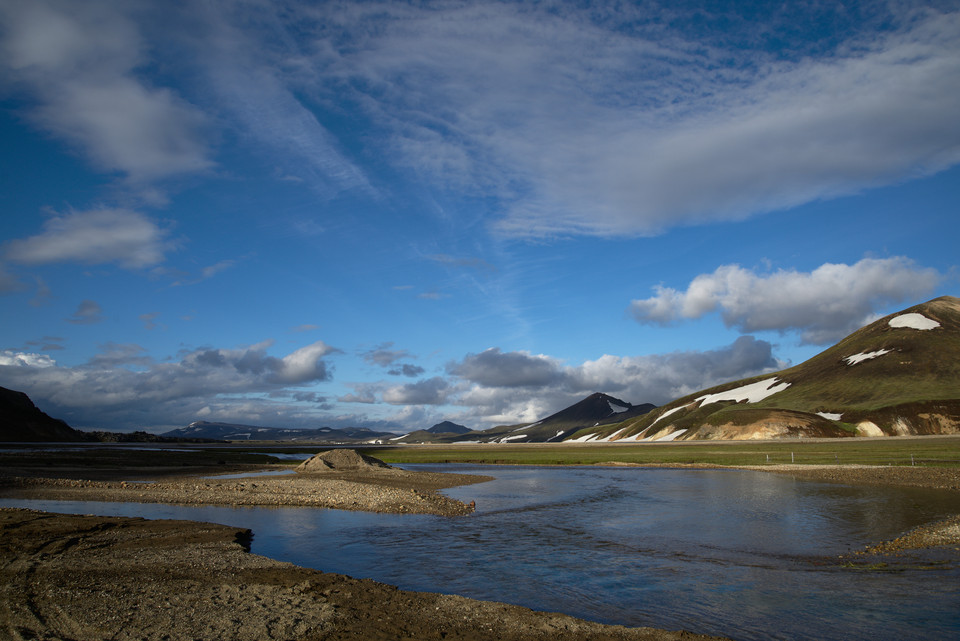
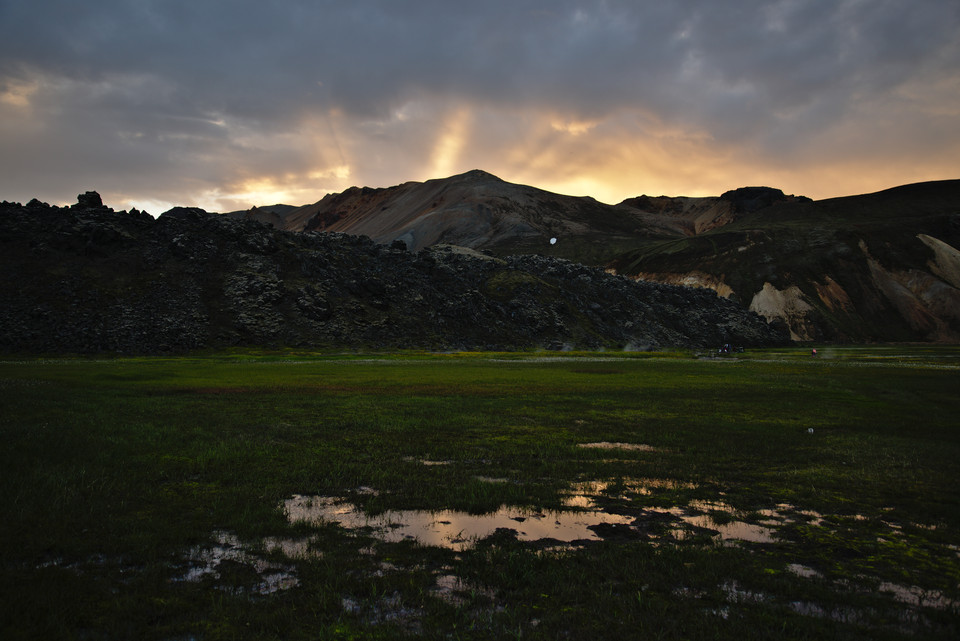
The Laugavegurinn is the most famous trail in Iceland and goes from Landmannalaugar to Þórsmörk. An optional (but highly-recommended) extension along the Fimmvörðuháls trail takes you from Þórsmörk to Skógar. The trail is popular (and the huts are crowded), but the scenery is outstanding, and is definitely worth the trip to Iceland.
I’ll summarize the basics and other information that I didn’t easily find while planning, and then go into a day-by-day summary of the trail.
Pre-hike Logistics
The information below is what I found to be helpful when hiking the trail. This is a difficult trip, and the weather can be treacherous even in the summer, so make sure to do your own research, know your own abilities, and be prepared.
Getting to the Trailhead
There are various bus companies that have routes to Landmannalaugar, Þórsmörk, and Skógar. We went with a hiking passport from Reykjavik Excursions, which costs around $120 and gives you a round trip to and from Reykjavik and Landmannalaugar/Þórsmörk/Skógar. The only inconvenience for us is that the Skógar to Reykjavik bus leaves very late at night, and arrives back at Reykjavik around 12am. If we could do it again, we would look into other bus companies that have earlier departure times from Skógar. Here are the bus companies I could easily find online:
We left our luggage at a luggage locker in Reykjavik since we were staying at various places through Airbnb and couldn’t leave our luggage with one place. Be sure to take note of the maximum time limits at the lockers, as some are only a few days. We looked up locations at https://www.luggagelockers.is/.
Food Planning
If you take a guided tour, then most of the food should be provided. Otherwise, you have to plan out every meal like any other backpacking trip. We decided to be simple and bring the following foods for our meals:
-
Breakfast: oatmeal
-
Lunch: see snacks
-
Snacks: nuts, crackers, dried fruits, granola bars
-
Dinner: dehydrated meals, soup powder, and smoked salmon packets
Dehydrated meals are expensive in Iceland, so we brought as much food from the US in our luggage as the weight allowance would allow. The rest (nuts, crackers, dried fruits) we bought from grocery stores in Iceland.
Since we were doing the cooking ourselves and tenting, we ended up renting a stove and buying fuel canisters from Gangleri Outfitters in Reykjavik. While you can fly with a stove, flying restrictions require that the stove is completely cleaned of fuel residue, and we decided not to take the risk of getting our stove confiscated.
We also took advantage of Reykjavik Excursion’s food drop service to send the second half of our food to Þórsmörk. They charge $30 for the first 10kg bag and $10 for each additional bag. You tell them which hut in Þórsmörk to send it to, and what day you plan to arrive there. This saved us from carrying 4 days worth of food, and I think it was definitely worth the cost after splitting it amongst our group. The food drop can be arranged at the same time as purchasing the bus tickets at the BSÍ Bus Terminal in Reykjavik.
Another great weight and space saver was not needing bear canisters to store our food! There were no animals on the trail that we had to worry about guarding our food against.
Throughout the hike, we had the opportunity to see other people’s food options. Some things we would do differently next time:
-
Be fancier with the meals in Landmannalaugar since it is the first night. The hut had grills, so we could have brought some food to barbecue that wouldn’t come with us on the hike.
-
Bring desserts! Someone shared with us some chocolate pudding made from a powder mix, and it was so delicious after a long day of hiking.
-
Bring drinks! We definitely could have benefitted from some tea in the morning, and hot chocolate at night.
Hiking Logistics
The trail can be hiked north to south or south to north. We chose north to south, as that is the downhill direction. There are many guided tours available where the guides will cook the meals and transport all the gear so you only have to carry a light daypack. Or for a more affordable option, you can plan the hike yourself and carry all your food and gear. Another decision to make is to either stay in the huts or camp in tents. I self-planned and went as a group of six. Because we couldn’t get a hut reservation for all the nights, we both stayed in the huts and tent camped. Although this meant carrying extra gear, we were able to compare the two approaches:
Huts:
-
About $60/person
-
Reservations are highly recommended, especially for July-August. We made reservations in January, and for our group of six, we weren’t able to get a reservation for all the huts. We made reservations through email from https://www.fi.is.
-
Provides mattress, heater, and kitchen area.
-
Kitchens provide stoves, gas, cookware, dishes, and utensils. There is no cooking oil, so bring your own if needed.
-
Beds are usually two people per mattress (double sized), with mattresses packed side-by-side like sardines.
-
Huts usually get pretty warm with all the people inside, so only a light sleeping bag is needed.
-
If you are a light sleeper, earplugs are a must. There is always someone who will snore like a train.
Tent campsites:
-
About $15/person
-
Designated camping areas near the huts. No reservations needed.
-
Need to bring your own tent and sleeping pad. Strong tents, extra guylines, and sturdy stakes highly recommended. Some campsites are windy and exposed. Our group got lucky and didn’t encounter any strong winds on the nights that we tented. Our group’s tents included the Tarptent Stratosphere, Big Agnes Copper Spur, and REI Half Dome.
-
Need to bring your own cooking supplies, stove, fuel.
-
Need to bring a warm sleeping bag. Temperatures can get down to 30F at night.
Both huts and tents:
-
Hot showers are about $5 for five minutes.
-
Cold showers are free. The water is very cold.
-
Restrooms and sinks are available.
-
Drinking water is available.
-
Bring your own food to cook.
-
No power outlets or cell service is available.
-
Hut wardens are available for assistance.
-
Garbage must be carried out. The huts at Landmannalaugar and Þórsmörk have garbage bins.
Some notes on hiking gear:
-
Wear hiking tech clothes, which means no cotton! It rains often and temperatures are cool, even in summer, so hypothermia can be a real possibility. Rain gear is a must. Warm, semi-waterproof gloves are very nice to have. When we went in early July, it was mid-50s during the day and mid-30s at night. And it rained for almost half the time.
-
The sun is up for 20 hours in the summer, and there is still quite a bit of light after it sets. We did not need our headlamps. But eyecovers were essential for blocking out the light!
-
Bring light slippers/sandals for the showers, huts and river crossings. Sandals that strap around your feet are best, as flip flops will likely get lost in the river.
-
There are very few trees on the trail, so females may want to consider bringing a urinary director for relieving themselves on the trail in-between huts.
-
A GPS unit is essential if the weather becomes foggy, which is likely to happen. Some areas of the trail are under snow and can be difficult to follow in foggy conditions.
The Hike
Now, with all the logistics out of the way, on to the hike itself!
Day 0: Arrival at Landmannalaugar
The bus ride was about 4 hours and mostly uneventful until we got onto the F-roads. As we got deeper into the highlands, the scenery changed dramatically. The bus stopped at two vista points to take pictures. Once we turned towards Landmannalaugar, the view of the surrounding valley was stunning.
There are many day hiking options out of Landmannalaugar and a few areas close by that can be quickly explored, including a nearby river and the famed hot springs. However, we found that the part of the hot springs where you can go in is more lukewarm than hot.
Day 1: Landmannalaugar to Hrafntinnusker
-
Distance: 6.68mi
-
Elevation gain/loss: +2,198ft -852ft
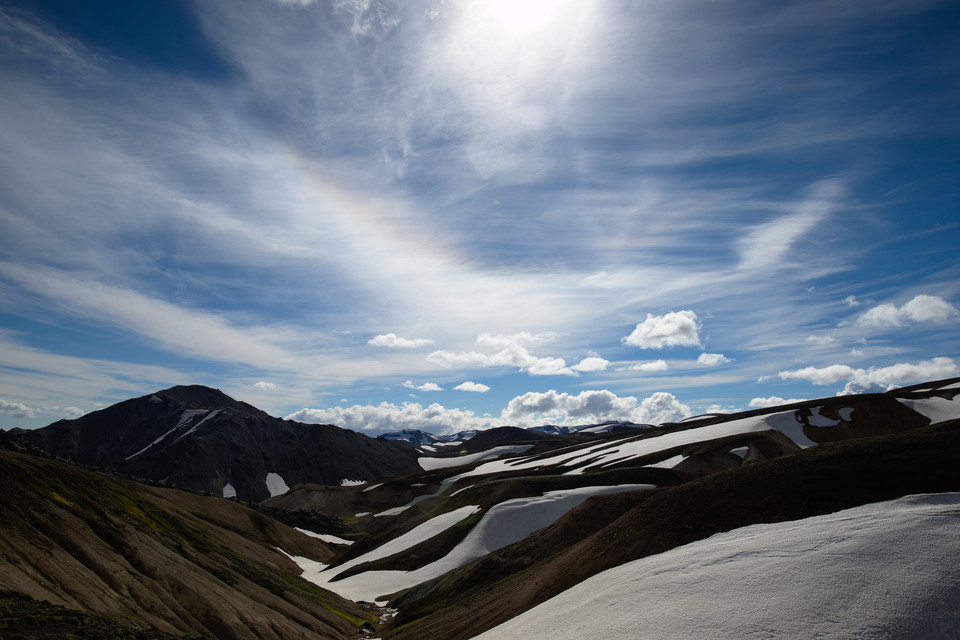
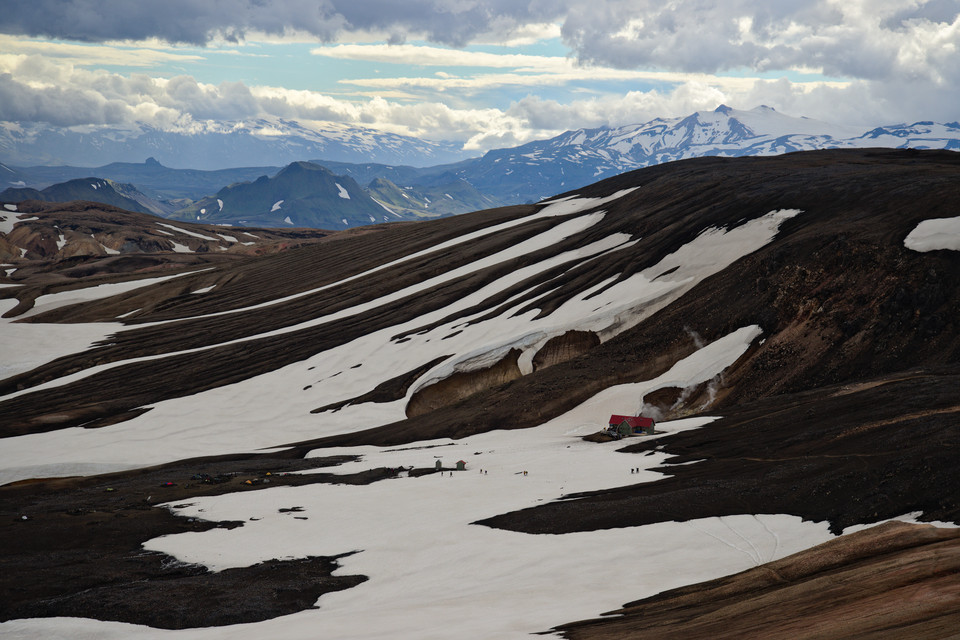
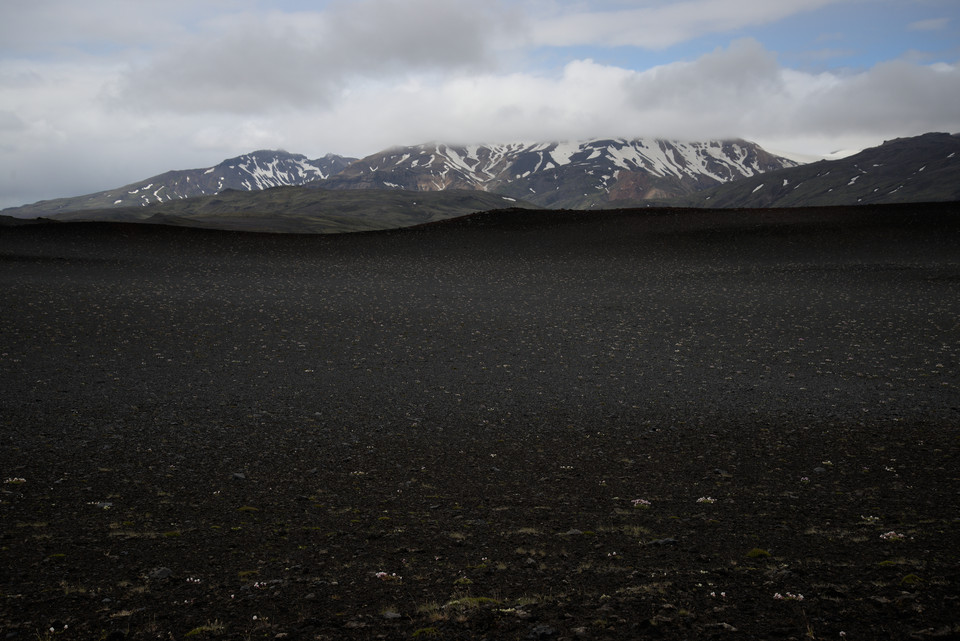
The first day on the Laugavegurinn had amazing scenery. After ascending through lava fields, we soon reached a viewpoint of the surrounding mountain range. Then, the trail turns and continues up the side of Brennisteinsalda and ascends through geothermal areas. Throughout this ascent, we were treated to countless views of the mountains. With about 2-3 miles remaining, we reached the snowline and started the trudge through snowfields to the hut at Hrafntinnusker. It was fairly easy to follow the paths in the snow, but we were lucky in that it was a sunny and clear day. I can imagine that in foggy weather, the trail can become difficult to follow, and a GPS would be essential.
We were one of the first campers to arrive at Hrafntinnusker, and thus had first pick at the campspots. We were definitely glad to have arrived earlier, as some of the campspots were more fortified than others. We were very lucky that the night at Hrafntinnusker was relatively calm, weather-wise. I’ve read many stories about how the wind can destroy many tents. It should be noted that the hut at Hraftinusker has no showers and only pit toilets. For these reasons, many people choose to skip staying at Hraftinusker and continue to Álftavatn, but that makes for a very long day.
Since we arrived early, we did a short 2km hike to Mt Soedull, which had some great views at the top.
Day 2: Hrafntinnusker to Álftavatn
-
Distance: 7.07mi
-
Elevation gain/loss: +753ft -2,282ft
This was another incredibly scenic day. It started off with about 3 miles of rolling hills through the snow that were not big enough to show up on the topo map, but frequent enough to tire us out and be a little demoralizing. But luckily, it all paid off as we came to the top of a very steep descent with a great panoramic view of Álftavatn, the valley, and the two glaciers Mýrdalsjökull and Eyjafjallajökull. This was, in my opinion, the best view of the entire trip.
After this amazing view came a steep descent, about 1000ft in 1 mile. In some parts, the dirt was loose, and a few slides and minor falls were almost unavoidable. After the descent, it was a mostly flat 2 miles to Álftavatn.
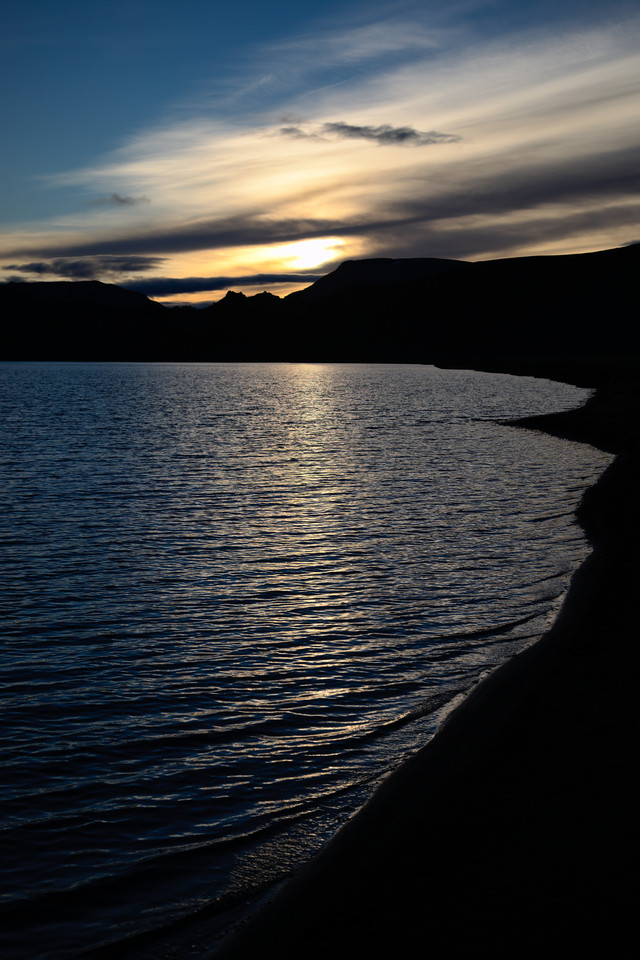
There were plenty of flat campsites at Álftavatn, although the ground was soft and sandy. Besides the walk around the lake, there were not too many side trails to explore.
Day 3: Álftavatn to Emstrur
-
Distance: 10.45mi
-
Elevation gain/loss: +1,047ft -1,295ft
This stretch made for the most boring day on the trail. It was long and mostly flat, with few changes in scenery. There were two major creek crossings, the second of which was the worst. The crossing was about knee-deep, 20-30 feet across, with fast-moving water. We crossed in groups of 3, linking arms together, although we saw a few people crossing alone just fine. For both crossings, the water was incredibly cold, and our feet felt pretty numb afterwards. After the excitement of the second crossing, it was another long slog to Emstrur.
At Emstrur, there was a short loop trail around the hut, although we didn’t go far as it started raining. We didn’t see many flat campsites available, and the camp spots were more cramped and closer together.
Day 4: Emstrur to Þórsmörk
-
Distance: 10.42mi
-
Elevation gain/loss: +1,637ft -2,468ft
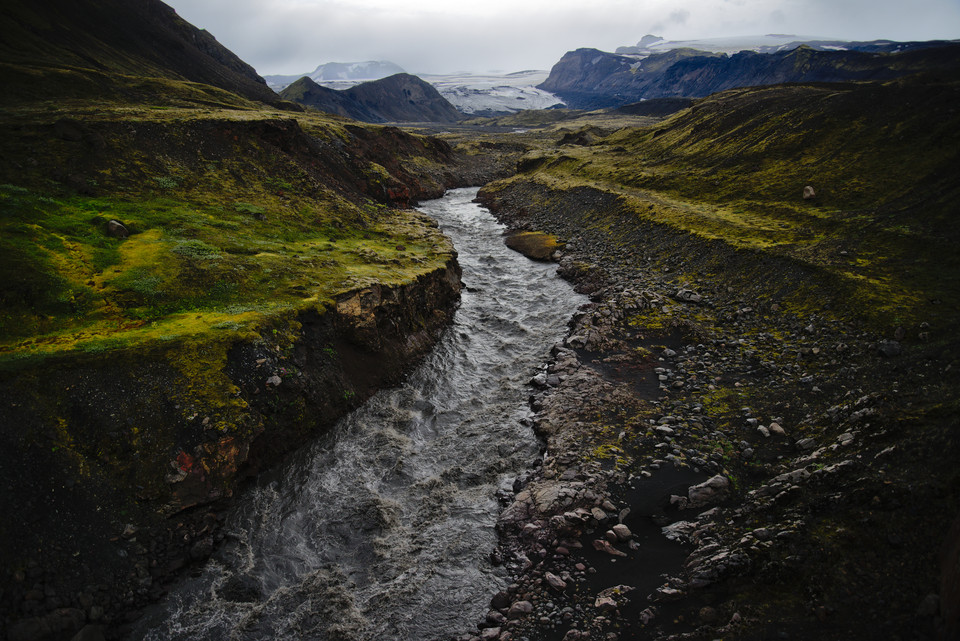
This was another long, but more interesting day. The trail started off in the direction of Mýrdalsjökull, and then crossed the bridge over the Emstruá river. We traversed a short roped section to get down to the bridge, which had some great views of the chasm below.
After the bridge, there were chains on the side of the hill, but we didn’t find them necessary. From there, it was a gentle grade with a few steep ascents before reaching the last major river crossing of the trail.
The night before, one fellow hiker with a guidebook scared most of our hut by saying that this river crossing would be the hardest of them all, but we actually found that this crossing was much less extreme than the previous one. We didn’t cross at the official spot, but instead went upstream towards the east. Here, the crossing was about knee deep and about 10 feet across.
Just about 2 miles after this crossing, we reached Þórsmörk, the official end of the Laugavegurinn! Þórsmörk is a big hiking destination and has three huts, a small (and expensive) store, and tons of day hiking options. There are plenty of flat areas to camp in if you explore around.
Day 5: Rest Day at Þórsmörk
-
Distance: 1.49mi
-
Elevation gain/loss: +150ft -110ft
The huts have lots of suggestions and maps for day hikes to do. We did some short day hikes to Réttarfell and Valahnúkur. We got to see some great views of the valley below, and also a close view of Eyjafjallajökull as well.
To slightly shorten the distance for the next day, we moved across the river to the Basar hut and campground. The campspots there are $15/person, and are very nice and flat.
Day 6: Þórsmörk to Fimmvörðuháls
-
Distance: 6.78mi
-
Elevation gain/loss: +3,323ft -733ft
The Fimmvörðuháls trail is a popular 1-2 day extension to the Laugavegurinn, which ascends to the pass, and then descends along the Skóga river, passing by countless waterfalls. We decided to split the hike into two days and stay at the hut at the top of the pass.
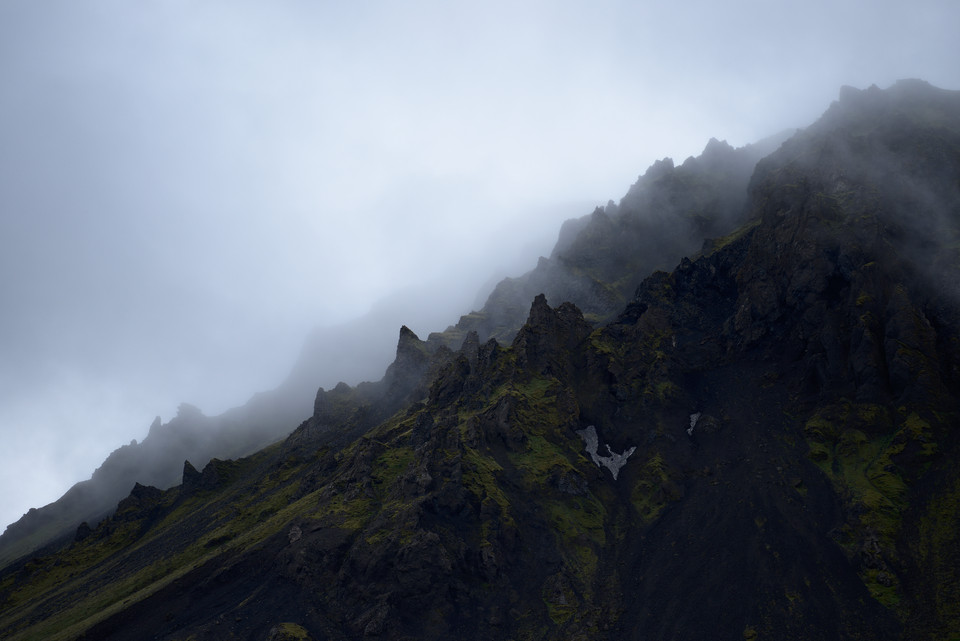
This was probably the hardest day of the hike, mostly due to the weather. Unfortunately, as we had a schedule to follow, we couldn’t delay for better weather. While only partly cloudy at the bottom, it became increasingly foggy, windy, and rainy as we ascended. Sadly, this also meant that much of the good views were negated by the whiteout conditions at the top of the pass.
There were 3 steep ascents and 2 roped/chained sections. On the second, it actually became necessary to use the chains while traversing a narrow ledge with a steep drop-off on one side.
Approaching the last 1.5 miles, we reached snowfields, and the trail become difficult to follow in the fog. We actually missed the sharp turn in the trail near Craters March and ended up cutting over a small mountain to get back onto the trail. We had to check our GPS every few minutes to make sure we were still on track. It started raining harder, and by the time we made it to the hut, our faces and hands were cold and soaked, and outer layers drenched.
The Fimmvörðuháls hut is the smallest and most primitive of the huts we encountered on the trail. It has room for only 15 or so people, and we had to use water conservatively, as the hut gets most of its water from snowmelt. It has one pit toilet, and an awkward urinal basin that even females have to use. It was mounted about two feet high, so smaller females may have some difficulty using it. In terms of campsites, there were perhaps two or three very exposed flat areas where you could pitch a tent, but I’m very doubtful that anyone actually stops to camp there.
We spent the remainder of the day holed up in the hut, as it was too stormy outside to do anything.
Day 7: Fimmvörðuháls to Skógar
-
Distance: 10.2mi
-
Elevation gain/loss: +759ft -4,089ft
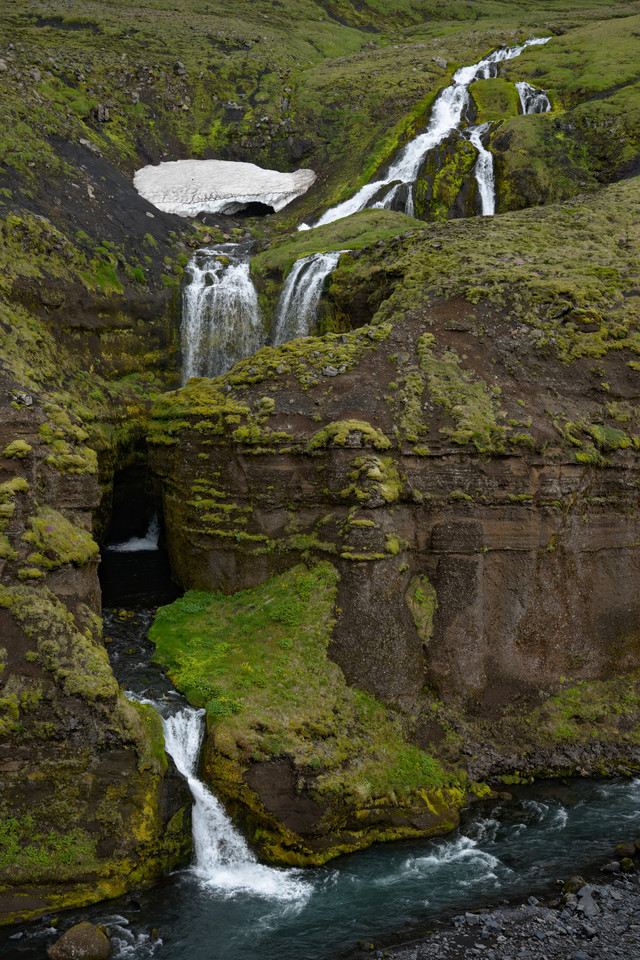
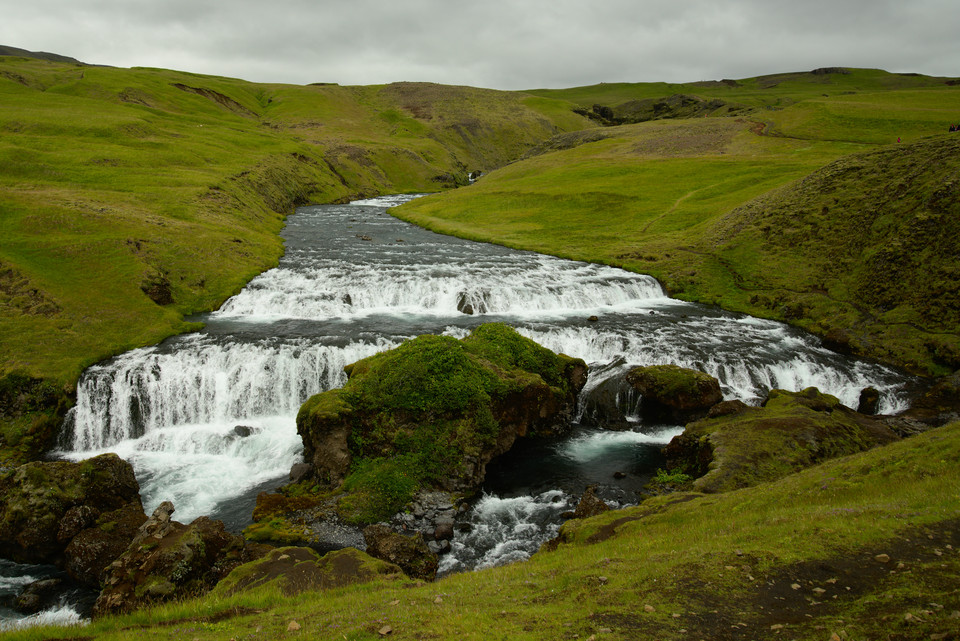
It was still foggy when we left the hut the next morning, but luckily it cleared up as we descended. This stretch of the hike was incredibly scenic, and as waterfall lovers, we found this day to be heaven, savoring every waterfall that we saw. The trail guide claims around twenty waterfalls on this stretch, although we counted more than forty. Perhaps we were a little liberal in our definition of a waterfall.
On paper, there is a lot of descent on this day, but it was very gradual and we barely noticed it at all. It was a pretty easy hiking day, especially compared to the previous day. That said, make sure to allocate enough time to gawk at the waterfalls!
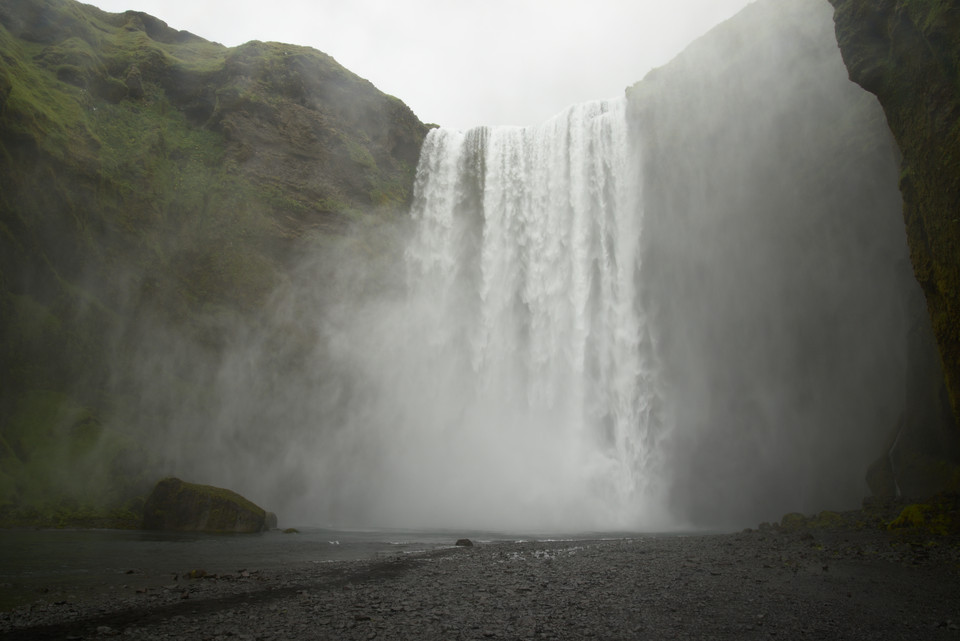
The trail eventually ends at Skógafoss, one of the largest waterfalls in Iceland.
Summary
Overall, this was one of the most amazing hikes that I have done. There is an incredible variety of scenery, from lava fields, snow-covered mountains, lakes, rivers, lush-green valleys, glaciers, and waterfalls.
While the trail is very popular, which makes hut reservations difficult, it means that there is easy transportation to the trailheads, and you have the opportunity to meet people from all over the world. This was definitely a great experience that I would recommend to any adventurous hiker.
